how to: quilt labels
- needleplusthread
- Jun 6, 2019
- 3 min read
Updated: Jan 27, 2020
so. you made a quilt. YOU'RE A BOSS. seriously. if you finished a quilt, you just became my hero. every time i make one, i'm like... oh yeah *looks off into middle distance* mumbles... there has to be a back.... and i do that along every step of the process. ohhh, right... it needs to be quilted. which means i need to buy batting... oh, man, i forgot i need to make binding... good lord. it's a miracle anyone finishes one.
but you have! and by goodness you better label that B! there are lots of great labels available on spoonflower, and once i started looking at them, and what i wanted for my own quilts (most of which have never been finished *ahem*) i decided i wanted to draw up the LABEL OF MY DREAMS. fat quarters of these labels are available on my site. they're $10, 4 different designs x 5, so 20 labels, and have all the little spots to write pertinent information about all the hours you just logged making that time suck of a blanket. here's what i envisioned when i drew them, and what i've found to be the best way to construct them.

first things first, you gotta wash the spoonflower stuff. so that's step one. once that's done, a quick pass with the iron, and into a small hoop as above. don't forget the COFFEEEEEEE.

see how those scissors have a red flag on them? if i see you in my house using red flag scissors on paper, i can call 911, and have you taken to jail. JUST KIDDING. i just put you outside, and lock all the doors. you're dead to me.
but srsly, once all your info is filled in, you can follow the line to cut them out. seam allowance is built in, but it's to the inside of the line. i wait to cut the diagonal bits off, so i can fold it, and do them evenly. like this (below):

next, i take my trimmed label, lay it on the backing fabric of my choice, and cut out some backs. i used white for these, but i think on my next ones, i might use liberty or something a little... more. since i decided to do a bunch of labels as once (feeling optimistic about how many quilts i'm going to finish), i have a stack. i also cut the backs slightly larger than the labels.

once the backs are cut, i take a front and a back, right sides together, and mark the label piece with lines where i want my seams. the few times i haven't done this, they've been a little too wonky for my liking. i do this to keep them straighter.

once the seams are marked, you're ready to sew.

it's moody right?

so- pick where you want to leave an opening. i leave mine at the top, and i leave about an inch open, making sure to lockstitch on both sides of the opening.

i'm perhaps on the wacky side of the trimming spectrum (it's a thing). i like less bulk, and sharper corners. i tend not to worry about it coming apart at the corners, because i also happen to be wacky on the edge stitching spectrum (also a thing). so go ahead and flip it.

if you're not singing missy elliott when you flip something, you're doing it wrong. also acceptable, turn this mother out by mc hammer.

next, i pin it where i want it. i've started getting less precious about straight and perfect. i liked this layout. so it's time to sew it on.

so- edgestitching. the only time closer to the edge is better. hahahaha sewing jokes. anyway, there are some words up against the seam allowance, but it's mostly just gibberish and care instructions (does anyone read those?), and i think it's ok if there's a seam going through some of it. don't forget to lock stitch. and then...

TA-DA!! there is a small mark on the label where you can attach a button, but you could just as easily add a small, bright cross stitch X, a ribbon knot, or bow, or... nothing. it's totally ok with nothing.
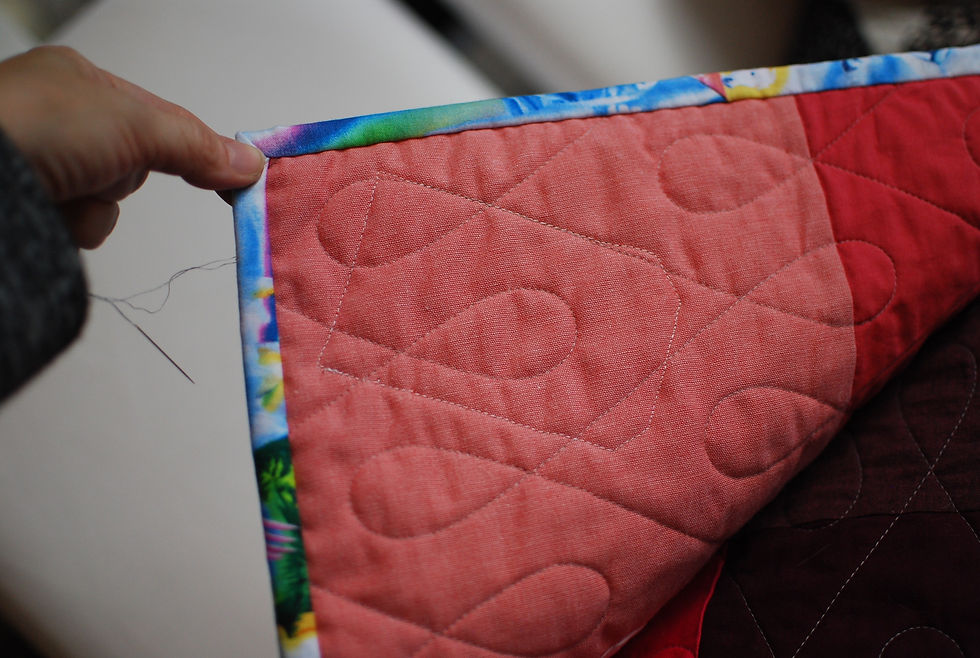
so... congrats. your label is on, you'll be remembered forever. and just incase you wondered what it looks like from the other side, i got you...


Comments